Images and
photos.
Photos grab attention before visitors read the first sentence. We will show you how to choose, crop and match images so your website looks professional.
In this lesson


A sharp photo or none at all
A blurry or pixelated image can spoil the impression of the whole page. Upload photos in sufficient resolution — ideally at least 1600 px wide for large header images.


A phone photo is fine — shoot in daylight and wipe the lens first.
Crop to what matters
A good crop leads the eye where you want it. Remove distracting edges and move the main subject onto one of the thirds of the frame — the photo will feel natural and alive.
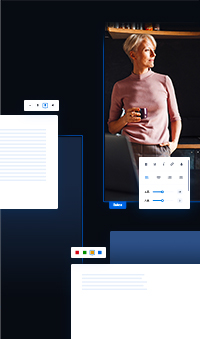
Click the image and choose Edit image in the editing panel. You can crop freely or set a fixed aspect ratio (1:1, 3:2, 4:3, 16:9 and more). You can also flip or rotate the image here.
In portraits, leave more room in the direction of the gaze. A person looking out of the page pulls attention away.

Photos from one series
When every photo is different — one cold, one oversaturated, one faded — the website looks patchy. Unify the light, color tone and style and your pages will look as if they came from one studio.
In the image editor you will find filters such as Warm, Cool down, Mute or Greyscale. With a custom filter you can fine-tune brightness, contrast, saturation and hue.
Use the same filter for all photos in one section or gallery.
Text on a photo must be readable
A heading over a photo looks great — as long as it can be read. On a light or busy background the letters get lost, so the same contrast rule as in lesson 4 applies.
- Darken the photo with the Darken filter
- Add a dark overlay in a custom filter
- Place the text on a calm area of the photo
Everyone reads a short heading. Put longer text next to the photo rather than over it.
Describe what is in the picture
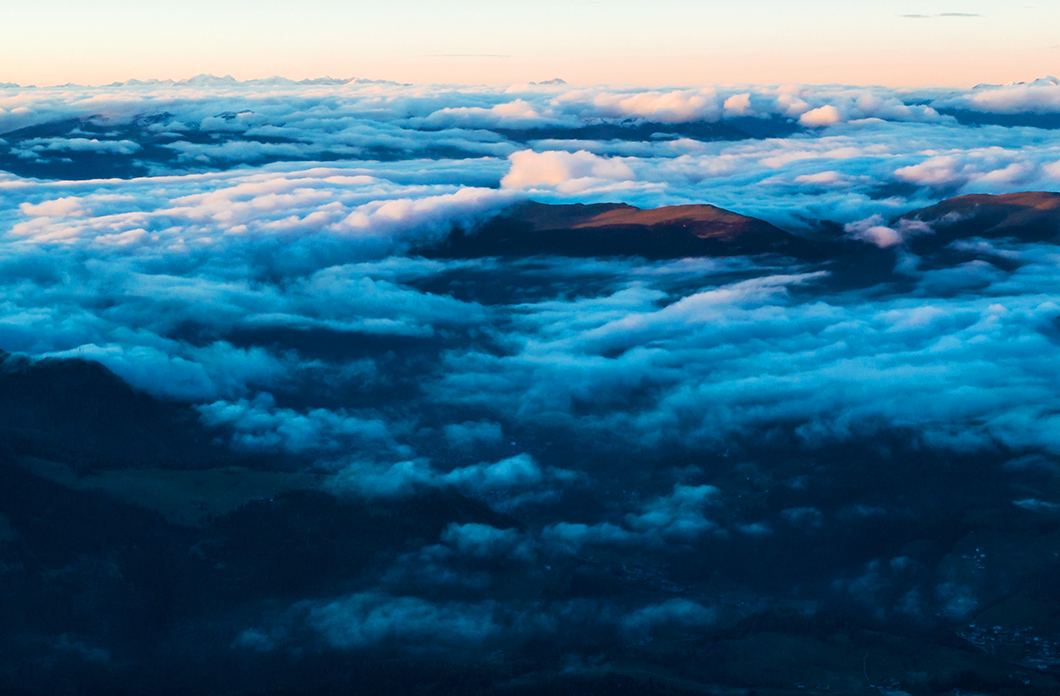
Search engines cannot see photos — they read their description. The image description (alt text) helps in search and is shown when the image fails to load. It also helps people who use a screen reader.
Fill in the description in the image editing panel, in the Description field.
Photos that work for you
Good, consistent photos say more about your work than a long text. Pick the best ones, crop them and give them room.
1 Upload sharp photos in sufficient resolution.
2 Use cropping to highlight the main subject.
3 Unify the photo style with the same filter.
4 Darken photos or add an overlay under text.
5 Write a fitting description for every image.
Create your
own website
Building a professional website is easier than you think. Start right now and get 30 days free to try it out.
No credit card required.